PHP Web Shells
Hypertext Preprocessor or PHP is an open-source general-purpose scripting language typically used as part of a web stack that powers a website. At the time of this writing (October 2021), PHP is the most popular server-side programming language. According to a recent survey conducted by W3Techs, "PHP is used by 78.6% of all websites whose server-side programming language we know".
Let's consider a practical example of filling out the user account and password fields on a login web form.
PHP Login Page
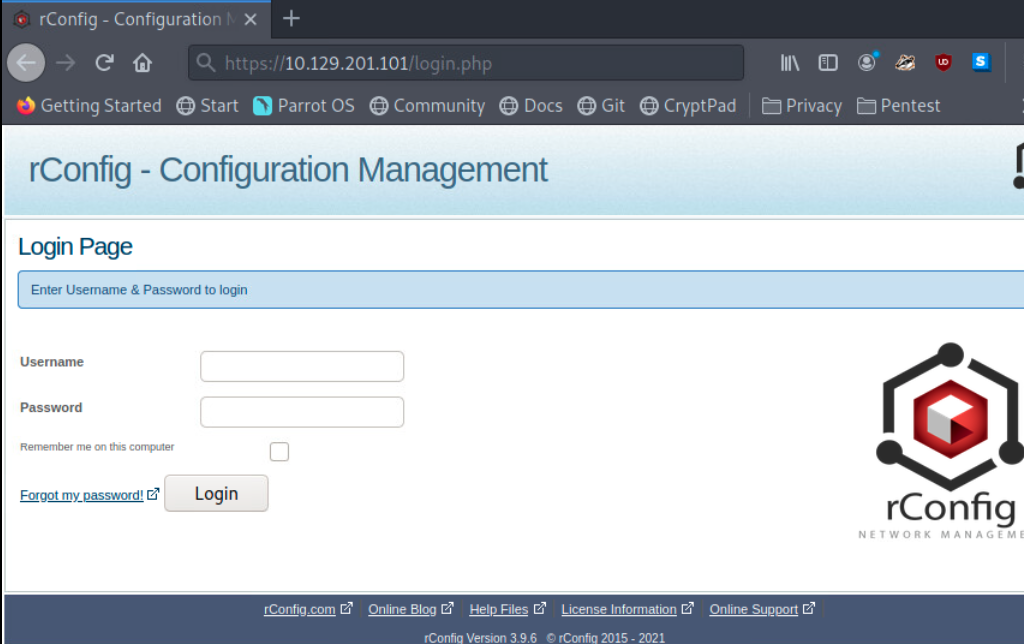
Recall the rConfig server from earlier in this module? It uses PHP. We can see a login.php file. So when we select the login button after filling out the Username and Password field, that information is processed server-side using PHP. Knowing that a web server is using PHP gives us pentesters a clue that we may gain a PHP-based web shell on this system. Let's work through this concept hands-on.
Hands-on With a PHP-Based Web Shell.
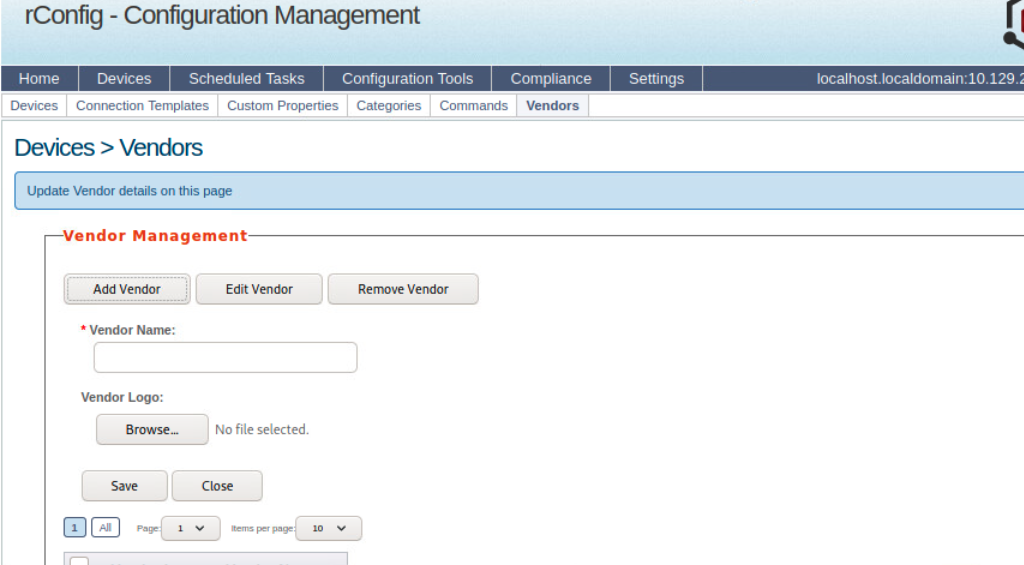
Since PHP processes code & commands on the server-side, we can use pre-written payloads to gain a shell through the browser or initiate a reverse shell session with our attack box. In this case, we will take advantage of the vulnerability in rConfig 3.9.6 to manually upload a PHP web shell and interact with the underlying Linux host. In addition to all the functionality mentioned earlier, rConfig allows admins to add network devices and categorize them by vendor. Go ahead and log in to rConfig with the default credentials (admin:admin), then navigate to Devices > Vendors and click Add Vendor.
Vendors Tab
We will be using WhiteWinterWolf's PHP Web Shell. We can download this or copy and paste the source code into a .php file. Keep in mind that the file type is significant, as we will soon witness. Our goal is to upload the PHP web shell via the Vendor Logo browse button. Attempting to do this initially will fail since rConfig is checking for the file type. It will only allow uploading image file types (.png,.jpg,.gif, etc.). However, we can bypass this utilizing Burp Suite.
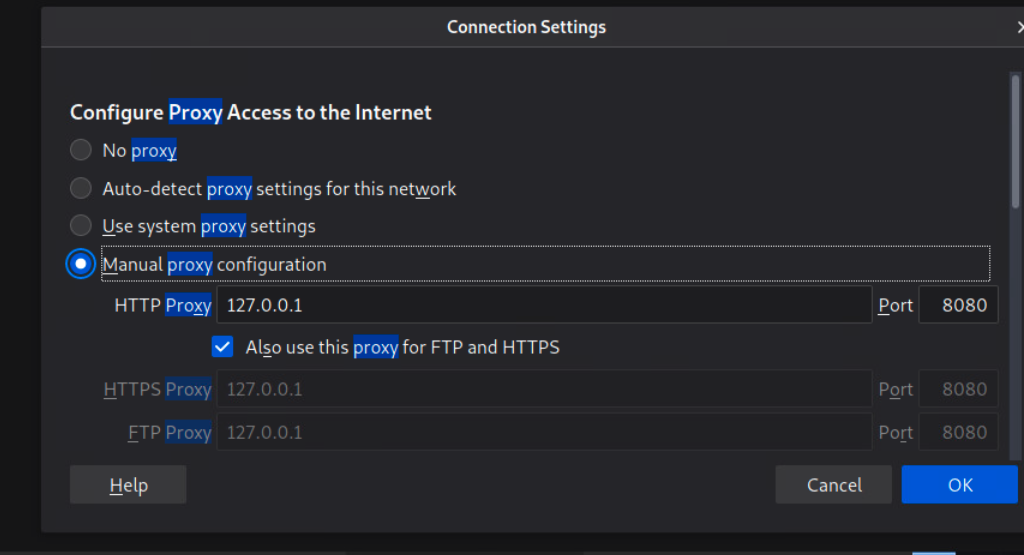
Start Burp Suite, navigate to the browser's network settings menu and fill out the proxy settings. 127.0.0.1 will go in the IP address field, and 8080 will go in the port field to ensure all requests pass through Burp (recall that Burp acts as the web proxy).
Proxy Settings
Our goal is to change the content-type to bypass the file type restriction in uploading files to be "presented" as the vendor logo so we can navigate to that file and have our web shell.
Bypassing the File Type Restriction
With Burp open and our web browser proxy settings properly configured, we can now upload the PHP web shell. Click the browse button, navigate to wherever our .php file is stored on our attack box, and select open and Save (we may need to accept the PortSwigger Certificate). It will seem as if the web page is hanging, but that's just because we need to tell Burp to forward the HTTP requests. Forward requests until you see the POST request containing our file upload. It will look like this:
Post Request
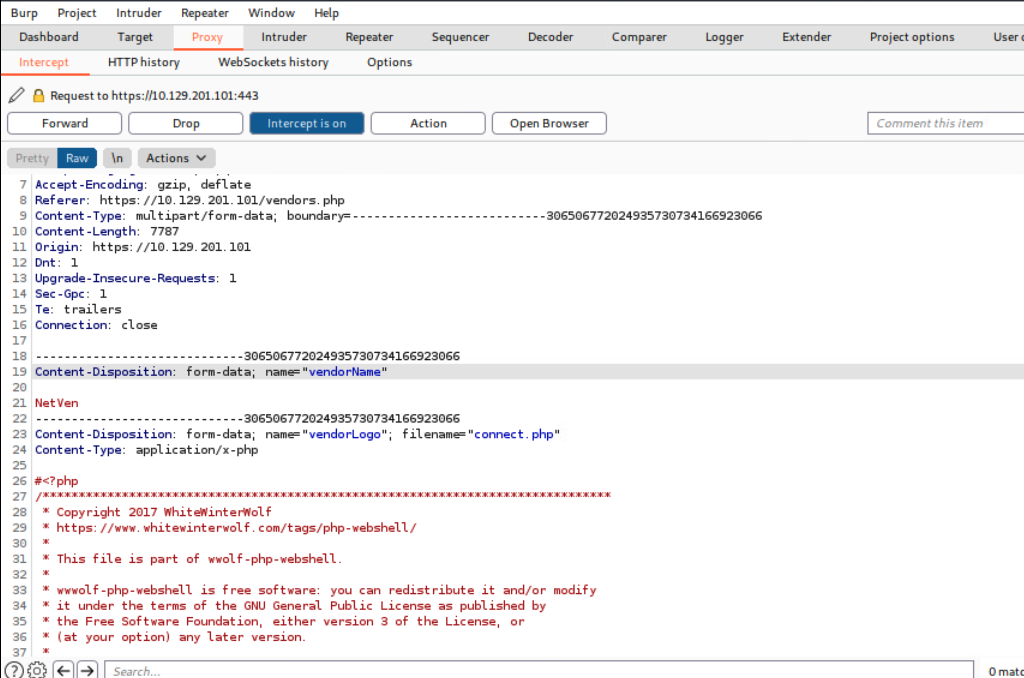
As mentioned in an earlier section, you will notice that some payloads have comments from the author that explain usage, provide kudos and links to personal blogs. This can give us away, so it's not always best to leave the comments in place. We will change Content-type from application/x-php to image/gif. This will essentially "trick" the server and allow us to upload the .php file, bypassing the file type restriction. Once we do this, we can select Forward twice, and the file will be submitted. We can turn the Burp interceptor off now and go back to the browser to see the results.
Vendor Added
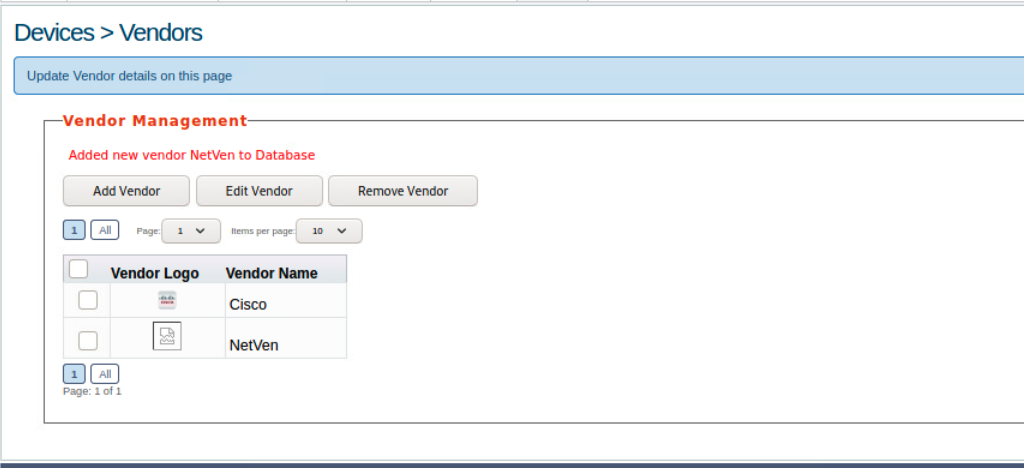
The message: 'Added new vendor NetVen to Database` lets us know our file upload was successful. We can also see the NetVen vendor entry with the logo showcasing a ripped piece of paper. This means rConfig did not recognize the file type as an image, so it defaulted to that image. We can now attempt to use our web shell. Using the browser, navigate to this directory on the rConfig server:
/images/vendor/connect.php
This executes the payload and provides us with a non-interactive shell session entirely in the browser, allowing us to execute commands on the underlying OS.
Webshell Success

Considerations when Dealing with Web Shells
When utilizing web shells, consider the below potential issues that may arise during your penetration testing process:
- Web applications sometimes automatically delete files after a pre-defined period
- Limited interactivity with the operating system in terms of navigating the file system, downloading and uploading files, chaining commands together may not work (ex.
whoami && hostname), slowing progress, especially when performing enumeration -Potential instability through a non-interactive web shell
- Greater chance of leaving behind proof that we were successful in our attack
Depending on the engagement type (i.e., a black box evasive assessment), we may need to attempt to go undetected and cover our tracks. We are often helping our clients test their capabilities to detect a live threat, so we should emulate as much as possible the methods a malicious attacker may attempt, including attempting to operate stealthily. This will help our client and save us in the long run from having files discovered after an engagement period is over. In most cases, when attempting to gain a shell session with a target, it would be wise to establish a reverse shell and then delete the executed payload. Also, we must document every method we attempt, what worked & what did not work, and even the names of the payloads & files we tried to use. We could include a sha1sum or MD5 hash of the file name, upload locations in our reports as proof, and provide attribution.